- Published on
Solving 'Failed to Get Directory Listing Permission Denied' Error in SFTPGo on macOS
- Authors

- Name
- Ang Yi Shuan
When setting up SFTPGo on macOS, you might encounter a frustrating issue: after creating a user and attempting to access directories, you receive the error message "failed to get directory listing permission denied." Even though it's clear that this is a permissions issue, modifying folder permissions to read-write for everyone might not resolve the problem.
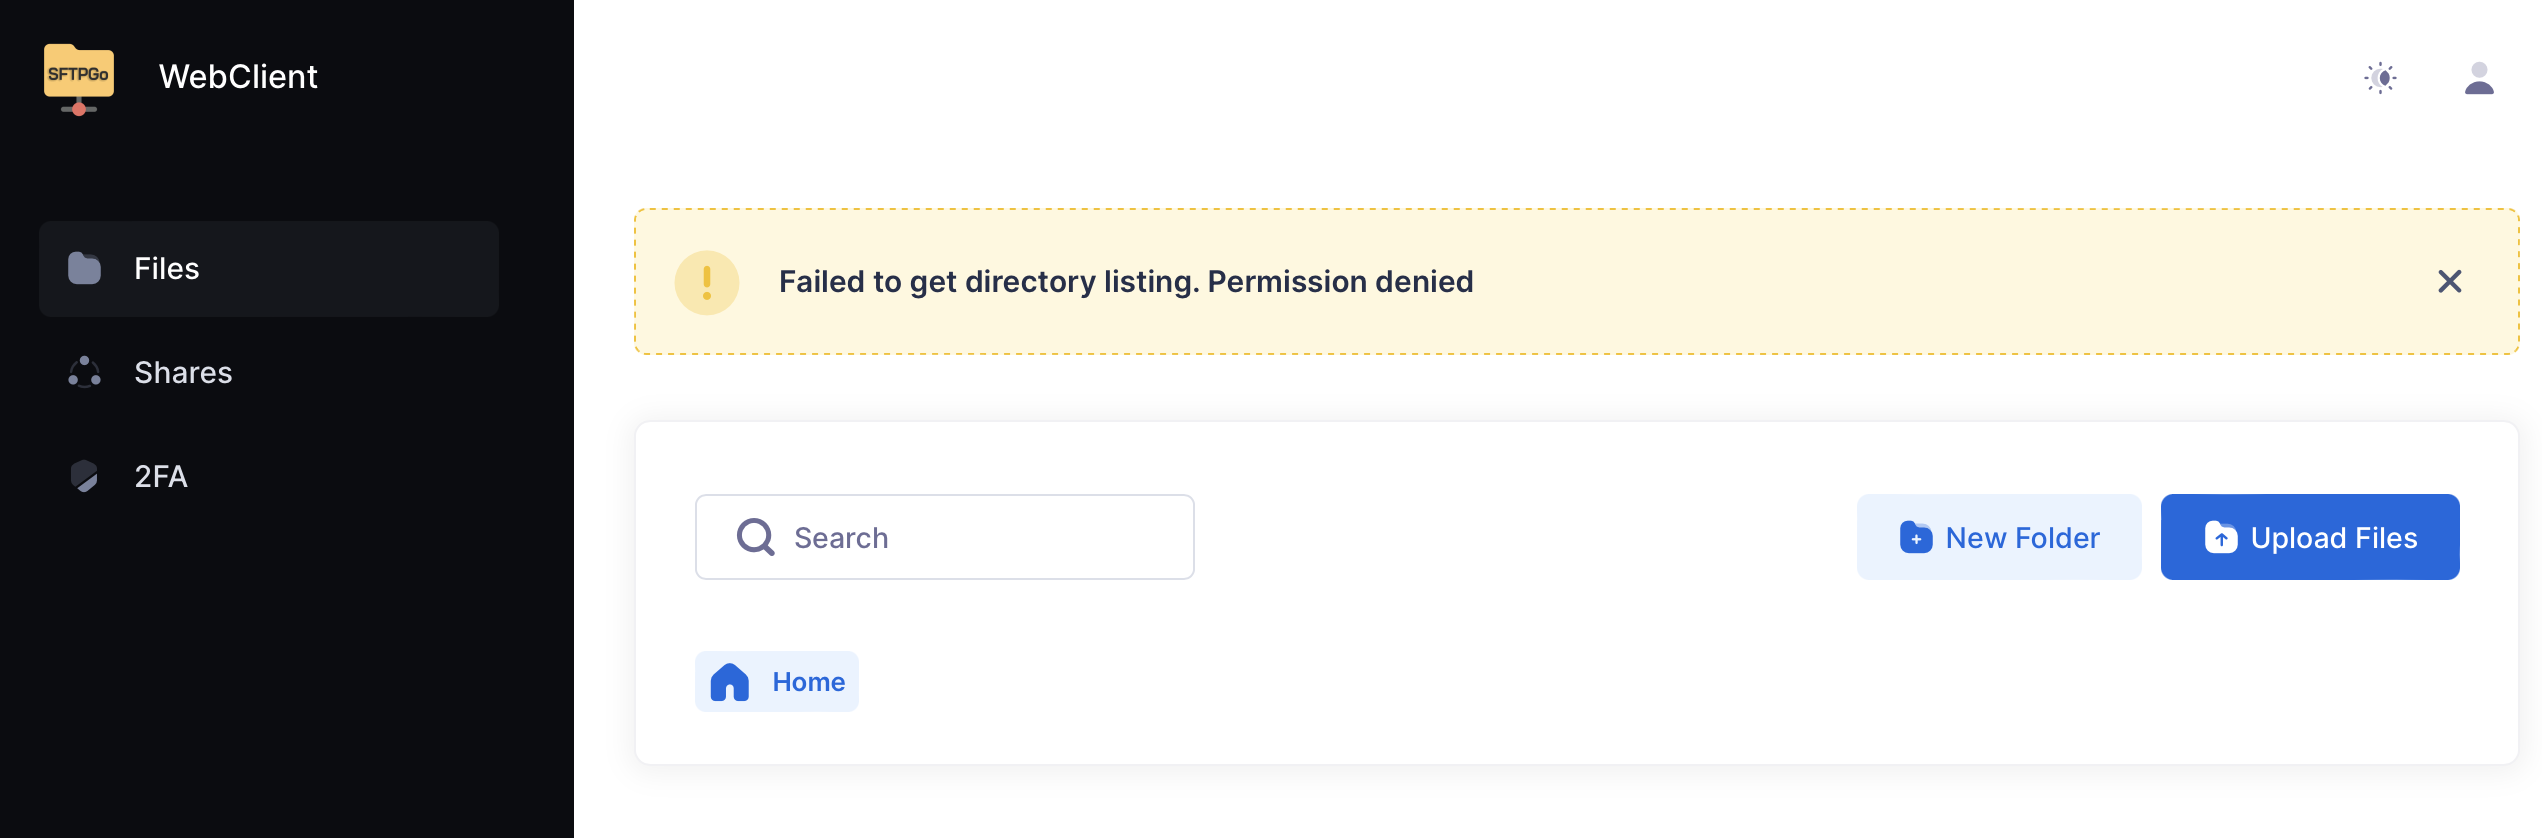
Said permission error shown on SFTPGo's web server.
After spending time troubleshooting and searching for solutions, I discovered that the key to solving this issue is enabling Full Disk Access for SFTPGo. This step is not mentioned in the official documentation but is crucial for macOS users. Here’s how to do it:
Step-by-Step Guide to Enable Full Disk Access for SFTPGo
Open System Preferences:
- Click the Apple menu icon in the top-left corner of your screen.
- Select "System Preferences."
Navigate to Security & Privacy:
- In the System Preferences window, click on "Security & Privacy."
Unlock the Settings:
- Click the lock icon in the bottom-left corner of the Security & Privacy window.
- Enter your administrator username and password to unlock the settings.
Select the Privacy Tab:
- Once unlocked, select the "Privacy" tab.
Find and Select Full Disk Access:
- In the left-hand sidebar, scroll down and select "Full Disk Access."
Add SFTPGo to Full Disk Access:
- Click the "+" button below the right-hand pane.
- In the dialog that appears, navigate to where SFTPGo is installed (typically
/usr/local/bin/sftpgoif installed via Homebrew). - Select SFTPGo and click "Open."
Confirm Changes:
- Ensure that SFTPGo now appears in the list of apps with Full Disk Access.
- Make sure the checkbox next to SFTPGo is checked.
Restart SFTPGo:
- For the changes to take effect, restart SFTPGo. You can do this by stopping and starting the service again through the terminal:
brew services stop sftpgo
brew services start sftpgo
- For the changes to take effect, restart SFTPGo. You can do this by stopping and starting the service again through the terminal:
Verifying the Solution
After enabling Full Disk Access and restarting SFTPGo, try accessing the directories again. The "failed to get directory listing permission denied" error should no longer appear, and you should be able to list and access directories as expected.
Conclusion
This overlooked step in the setup process can save macOS users a lot of time and frustration. By enabling Full Disk Access for SFTPGo, you ensure that the application has the necessary permissions to access the directories required for its operation. If you encounter any other issues or have additional tips, feel free to reach out!
Happy file transferring!